Guide
How to Assemble Sliding Door Wardrobes: Comprehensive Guide
Sliding door wardrobes have become a popular choice for modern homes, offering both functionality and style. They maximize space and provide a sleek and contemporary look to your bedroom or dressing area. While you can purchase pre-assembled wardrobes, assembling one yourself can be a rewarding DIY project. In this guide, we will take you through the step-by-step process of assembling a sliding door wardrobe on your own.
Assembling a sliding door wardrobe may seem like a daunting task, but with the right tools, instructions, and a bit of patience, you can achieve a professional-looking result. This DIY project not only saves you money but also gives you a sense of accomplishment. So, let’s get started on your journey to create a stylish and functional wardrobe.
Throughout this guide, we’ll delve into the fundamental components of sliding door wardrobes, the preparations required before embarking on assembly, and the intricate steps involved in constructing your wardrobe masterpiece. We’ll also address safety precautions to ensure that your DIY adventure is not only fulfilling but also secure. So, let’s roll up our sleeves, gather our tools, and dive into the gratifying world of DIY sliding door wardrobe assembly.
Key Takeaways:
- Assembling a sliding door wardrobe is a DIY project that can save you money and provide a sense of achievement.
- The process involves understanding your wardrobe components, preparing for assembly, setting up the frame, installing hanging rails and shelves, setting up drawers, and installing sliding doors.
- Safety precautions are essential during assembly.
- Professional assembly services are an option if you’re unsure about DIY assembly.
Understanding Your Wardrobe Components
Before diving into assembly, it’s crucial to understand the various components that make up your sliding door wardrobe. These typically include:
- Wardrobe Panels: These are the main sections that form the body of the wardrobe.
- Hanging Rails: These are the horizontal bars on which you’ll hang your clothes.
- Shelves: Shelves provide additional storage space for items like shoes, bags, or folded clothes.
- Drawers: Wardrobes may come with built-in drawers, providing organized storage.
- Sliding Doors: The doors not only add to the aesthetics but also keep your belongings dust-free and organized.
Preparation Before Assembly
1. Clear the Space
Start by clearing the space where you plan to assemble the wardrobe. Remove any obstacles and ensure you have enough room to work comfortably.
2. Gather Tools and Materials
You’ll need basic tools such as a screwdriver, a drill, a hammer, and a measuring tape. Additionally, ensure that you have all the components and hardware provided in the wardrobe kit.
3. Read the Instructions
Carefully read the assembly instructions provided with your wardrobe. Familiarize yourself with the steps and components before you begin.
Assembling the Wardrobe
Setting Up the Frame/Carcass
- Lay out the wardrobe panels and connect them according to the instructions. Typically, you’ll connect the sides, top, and bottom panels to form the frame.
- Use screws and dowels to secure the panels together. Make sure the frame is level and stable.
Installing the Hanging Rails and Shelves
- Attach the hanging rails at the desired height inside the wardrobe. These rails will serve as the support for your clothes hangers.
- Install the shelves according to the instructions. Ensure they are level and securely fastened.
Setting Up the Drawers
- If your wardrobe includes drawers, assemble them according to the provided instructions. Typically, this involves attaching drawer slides and handles.
- Carefully slide the drawers into their designated slots within the wardrobe.
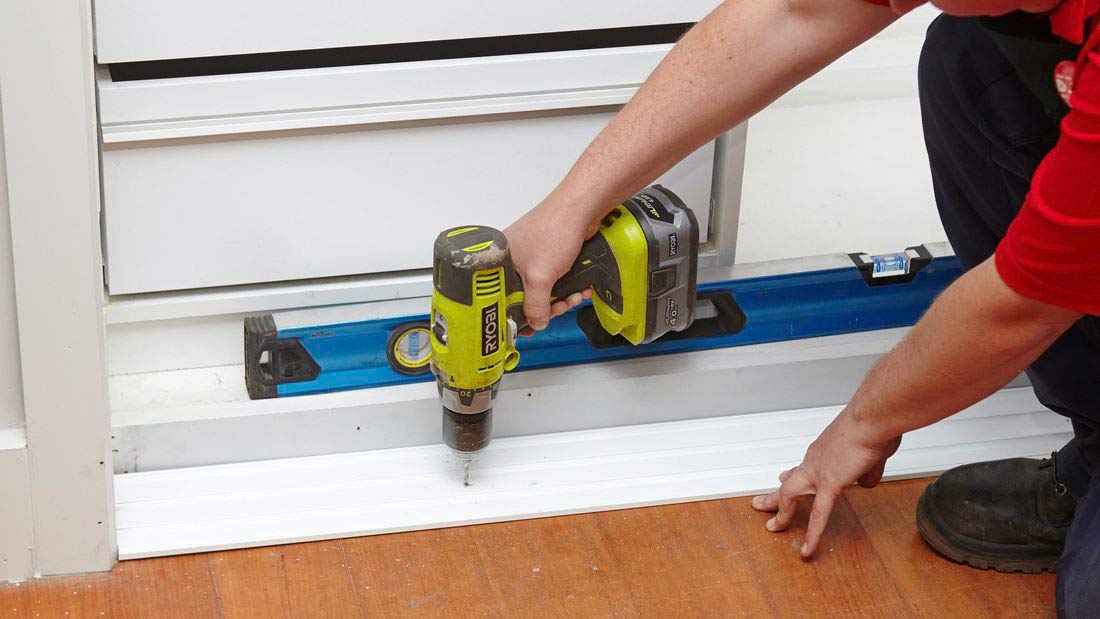
Installing the Sliding Doors
- Follow the instructions to attach the door tracks to the top and bottom of the wardrobe frame.
- Hang the sliding doors on the tracks, ensuring they slide smoothly. Adjust as needed to ensure they align correctly.
- Install any door handles or knobs provided with your wardrobe.
Safety Tips
- Always follow safety precautions when using tools and working with heavy materials.
- If the wardrobe is tall or heavy, consider having someone assist you during assembly.
- Keep small parts and hardware out of the reach of children and pets.
- Be cautious when handling glass components if your wardrobe includes glass doors or mirrors.
Considering Professional Assembly Services
While assembling a sliding door wardrobe can be a rewarding DIY project, it’s not for everyone. If you’re not confident in your DIY skills or if you’re dealing with a complex or large 3 door wardrobe, it might be wise to consider professional assembly services. Hiring experts ensures that your wardrobe is assembled correctly and safely.
Frequently Asked Questions
How Long Does It Take to Assemble a Sliding Door Wardrobe?
The time required for assembly depends on the complexity of the wardrobe and your DIY experience. It can range from a few hours to a full day. Reading and following the provided instructions carefully can significantly reduce assembly time.
Can I Customize the Interior of My Wardrobe?
Many sliding door wardrobes offer customization options. You can typically adjust the height of hanging rails and shelves to suit your storage needs. Some wardrobes also allow you to add additional accessories like shoe racks or tie holders.
What If My Wardrobe Doesn’t Come with an Instruction Manual?
If your wardrobe is missing assembly instructions, contact the manufacturer or retailer immediately. They may provide you with digital instructions or mail a physical copy to you.
Assembling a sliding door wardrobe by yourself is an achievable and rewarding project. By carefully following the provided instructions and taking safety precautions, you can create a stylish and functional storage solution for your bedroom. However, if you’re unsure about any aspect of the assembly process, don’t hesitate to seek professional assistance for a worry-free experience.